Canning for begginers: Because the healthiest ingredient list is the one you make yourself. Grocery prices keep climbing, and let’s be honest—the quality of store-bought produce just doesn’t always cut it. If you’re growing your own veggies, you already know the joy of fresh-picked flavor. But what happens when your garden gives you more than you can eat? That’s where canning comes in! It’s easier than you think, and it lets you enjoy your homegrown goodness all year long. Let’s break it down into simple steps so you can get started with confidence—safely.
From Greenhouse to Jar: Maximizing Your Harvest
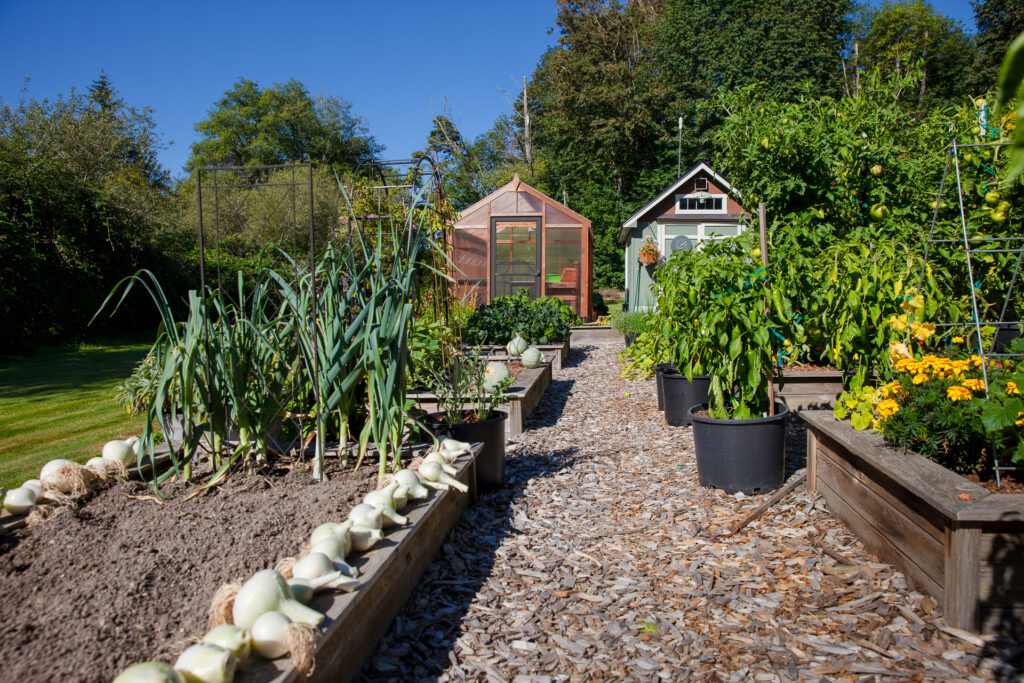
A greenhouse extends your growing season, giving you more control over what and when you harvest. That means more opportunities to grow vegetables perfect for canning, like tomatoes, peppers, and cucumbers. With a greenhouse, you can start your plants earlier in the spring and keep them producing well into the fall—or even year-round with the right setup.
Growing in a greenhouse also helps protect your crops from unpredictable weather, pests, and disease, leading to healthier, more productive plants. More harvests mean more fresh ingredients to preserve, making canning a natural next step for greenhouse gardeners. By planning your greenhouse crops with preservation in mind, you can create a steady supply of homegrown food to enjoy long after the growing season ends.
Why Canning?
Canning locks in freshness, reduces waste, and helps you save money. Plus, you get total control over the ingredients—no weird preservatives or mystery additives. Whether you’re tucking away tomatoes for cozy winter soups or whipping up a batch of homemade pickles, canning lets you savor the best flavors from your garden long after the growing season ends.
Beyond the practical benefits, there’s something deeply satisfying about seeing shelves lined with your own preserved food. Canning brings a sense of accomplishment, self-reliance, and a connection to traditions that have been passed down for generations.
Understanding the Science of Canning
Canning works by creating a sealed environment that prevents bacteria, yeast, and mold from spoiling food. There are two main factors at play:
- Heat Processing: Kills harmful microorganisms and inactivates enzymes that cause spoilage.
- Sealing: Keeps new bacteria from entering the jar, ensuring long-term preservation.
Not all foods are canned the same way. High-acid foods (pH 4.6 or lower) like tomatoes, pickles, and fruits can be safely processed using a water bath canner. Low-acid foods (like beans, corn, and meats) require pressure canning to reach high enough temperatures to kill harmful bacteria, including Clostridium botulinum, which causes botulism.
Two Safe and Easy Canning Methods for Beginners
Water Bath Canning
This method is ideal for high-acid foods. Jars are submerged in boiling water (with the center of the jar reaching 212°F), which safely processes fruits, jams, pickles, and tomato-based products.
- Best for: Tomatoes, salsas, fruits, fruit jams, jellies, and pickles.
- Processing Time: Varies by recipe but usually 10-45 minutes.
- Important Safety Tip: Always follow a tested recipe. Some tomatoes may need added lemon juice or citric acid to ensure a safe pH level.
Freezer Canning
A great, no-pressure alternative for preserving vegetables and sauces. Instead of heat processing, food is packed into freezer-safe jars or bags and stored at 0°F.
- Best for: Corn, green beans, zucchini, pesto, and tomato sauces.
- Processing Time: None—just prep, pack, and freeze!
- Important Safety Tip: Leave space (min. 1 inch) at the top of jars for expansion to prevent cracking.
What You’ll Need to Get Started
- Glass canning jars with lids and bands – Ensure they’re designed for canning.
- A large stockpot or water bath canner – For boiling and sealing jars.
- Jar lifter and funnel – Makes filling and removing jars easier.
- Fresh produce from your garden – Ripe, firm veggies and fruits work best.
- Vinegar, salt, sugar or lemon juice – Helps with food safety and works as a natural preservative.
- Pressure canner (if canning low-acid foods) – Required for meats, beans, and non-pickled vegetables.
Safe Canning Practices to Follow
To avoid spoilage and foodborne illness, always follow these safety tips:
- Use tested recipes from sources like the USDA, Ball Canning Guide, or the National Center for Home Food Preservation.
- Sterilize your equipment before starting.
- Adjust processing times for altitude (higher elevations require longer processing times).
- Check jar seals after cooling—lids should not flex when pressed.
- Label and date your jars to track freshness.
- Discard any jar with signs of spoilage (off smells, mold, or bulging lids).
How to Can in 4 Simple Steps
Step 1: Prep Your Jars
Inspect jars and rims for any cracks. Wash jars, lids, and rings in hot soapy water. Keep jars warm in simmering water or in a 250°-300°F oven to prevent breakage when filling.
Step 2: Fill ‘Em Up
Pack your veggies in, leaving a little space at the top (usually about ½ inch). Use a clean, damp cloth to wipe jar rims before sealing.
Step 3: Seal & Process
For water bath canning, place jars in a pot of boiling water and process according to your recipe’s recommended time.
Step 4: Cool & Store
Remove jars and let them cool undisturbed for 12-24 hours. Check seals, label, and store in a cool, dark place.
Troubleshooting Common Canning Issues
- Jars Didn’t Seal Properly – Could be due to food debris on rims or old lids. Refrigerate and use unsealed jars within a week.
- Cloudy Brine in Pickles – May be due to hard water or over-processing. As long as there’s no mold, they’re safe to eat.
- Siphoning (Liquid Loss in Jars) – Happens when jars cool too quickly. Avoid sudden temperature changes.
- Mold or Odd Smell? – If anything looks or smells off, discard the jar immediately. Never taste questionable food.
Easy Recipes to Try First
Classic Dill Pickles
Ingredients:
- 2 lbs cucumbers, sliced or whole
- 2 cups water
- 2 cups white vinegar
- ¼ cup pickling salt
- 2 cloves garlic, peeled
- 1 tsp dill seeds (or fresh dill sprigs)
- ½ tsp black peppercorns
Instructions:
- Pack cucumbers, garlic, dill, and peppercorns into sterilized jars.
- In a saucepan, bring water, vinegar, and salt to a boil.
- Pour brine over cucumbers, leaving ½ inch headspace.
- Seal jars and process in a water bath for 10 minutes.
Simple Tomato Sauce
Ingredients:
- 10 lbs tomatoes, peeled and chopped
- 1 onion, diced
- 2 cloves garlic, minced
- 1 tsp salt
- 1 tbsp lemon juice per jar
Instructions:
- Cook tomatoes, onion, garlic, and salt until thickened.
- Pour into jars, adding 1 tbsp lemon juice per pint.
- Process in a water bath for 35 minutes.